Last Christmas I had an Easy Christmas Nail Art series on my blog, where I showed you all how to create 10 easy Christmas nail looks, everything from Robins to sparkly french manicures with penguins and more sparkle in between, and you all seemed to enjoy it and I got some really fantastic feedback on the series.
A few weeks ago I thought that since the easy Christmas nails series was so popular, you might like a Halloween series so I asked on Instagram if you'd like me to do it and the response was a unanimous yes!
I'm not brilliant at nail art by any stretch of the imagination but I firmly believe that if I can create the designs I show, anyone can. So here goes with our first Easy Halloween Nail Art in the series.
Frankenstein Nails
What you'll need
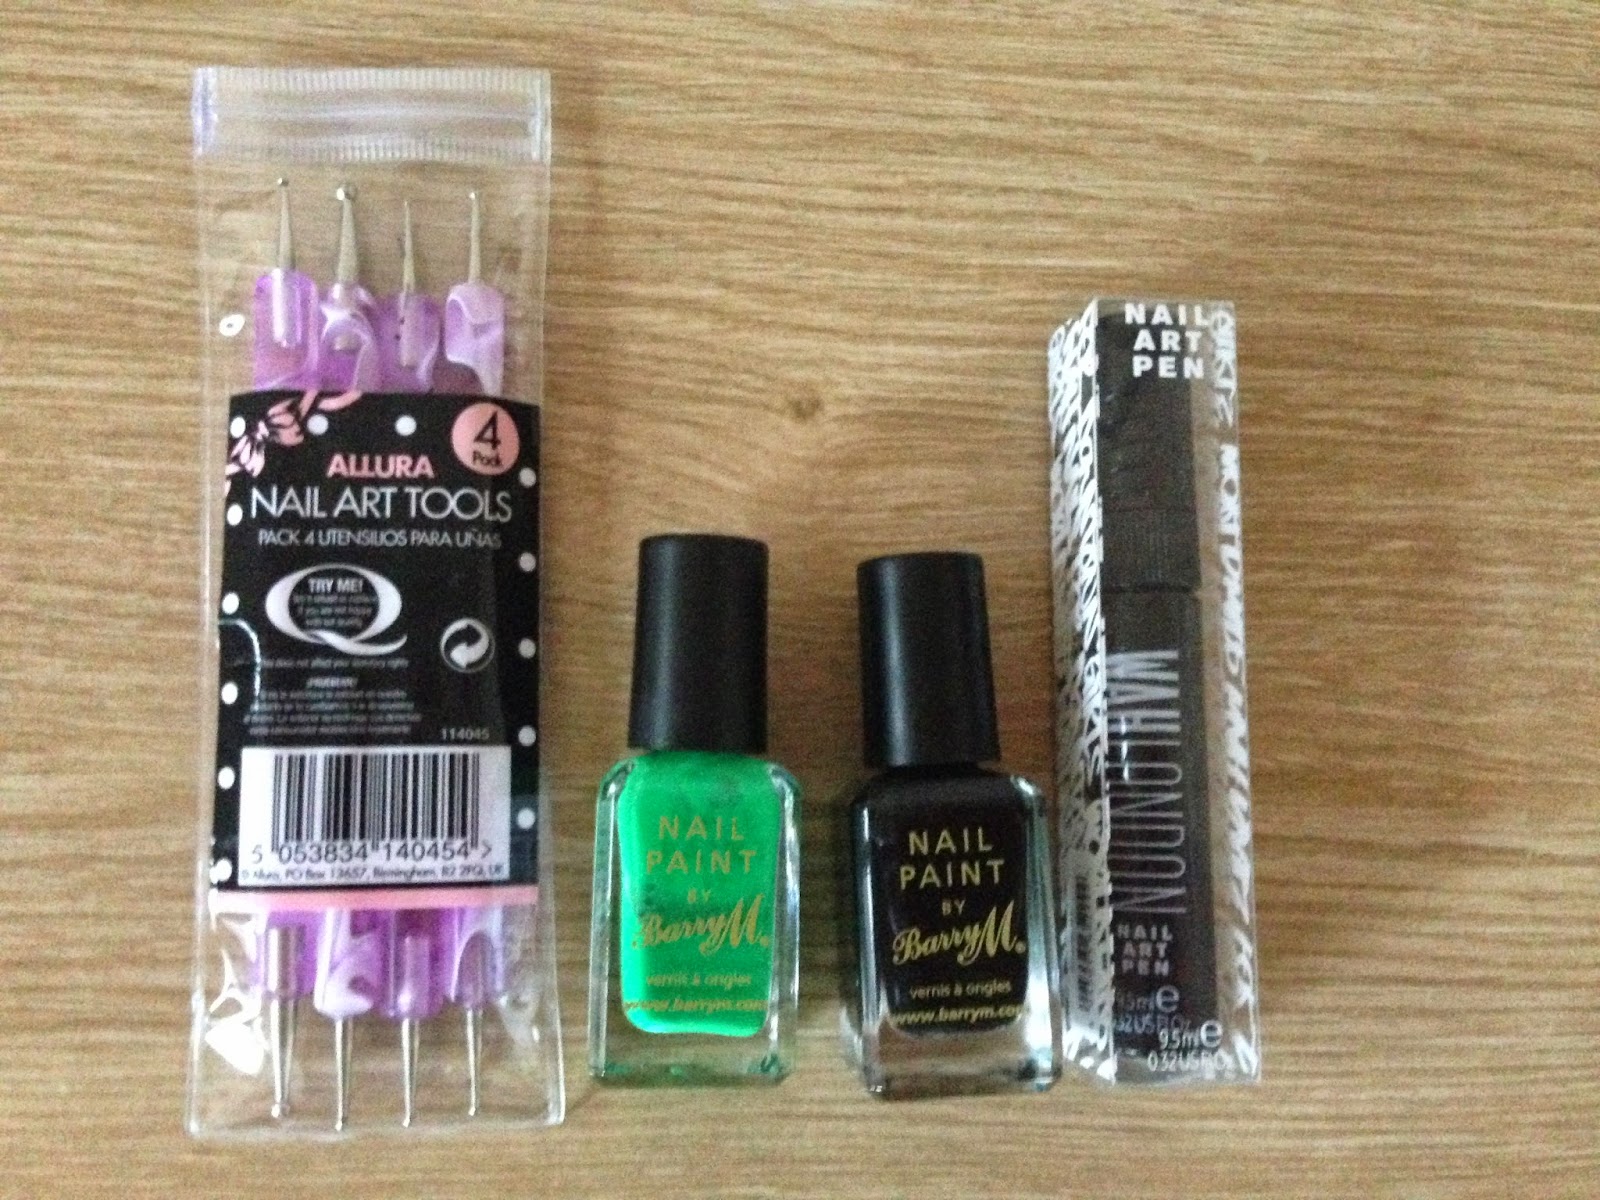
L-R Dotting Tools, Barry M Nail Paint in Spring Green, Barry M Nail Paint in Black, Wah London Nail Art Pen in Black
1. Dotting Tools or if you haven't got them, a cocktail stick or a hair grip or bobby pin is fine.
2. Any Green nail polish.
3. Any Black nail polish.
4. Any White nail polish (sorry I forgot to show mine, I used a Wah London white polish)
5. A nail art pen if you have one if not the dotting tools or cocktail stick/bobby pin is fine.
6. Any base and top coat.
How to create Frankenstein nails
1. First of all apply your base coat of choice, I always use the Orly Bonder base coat but any is fine.
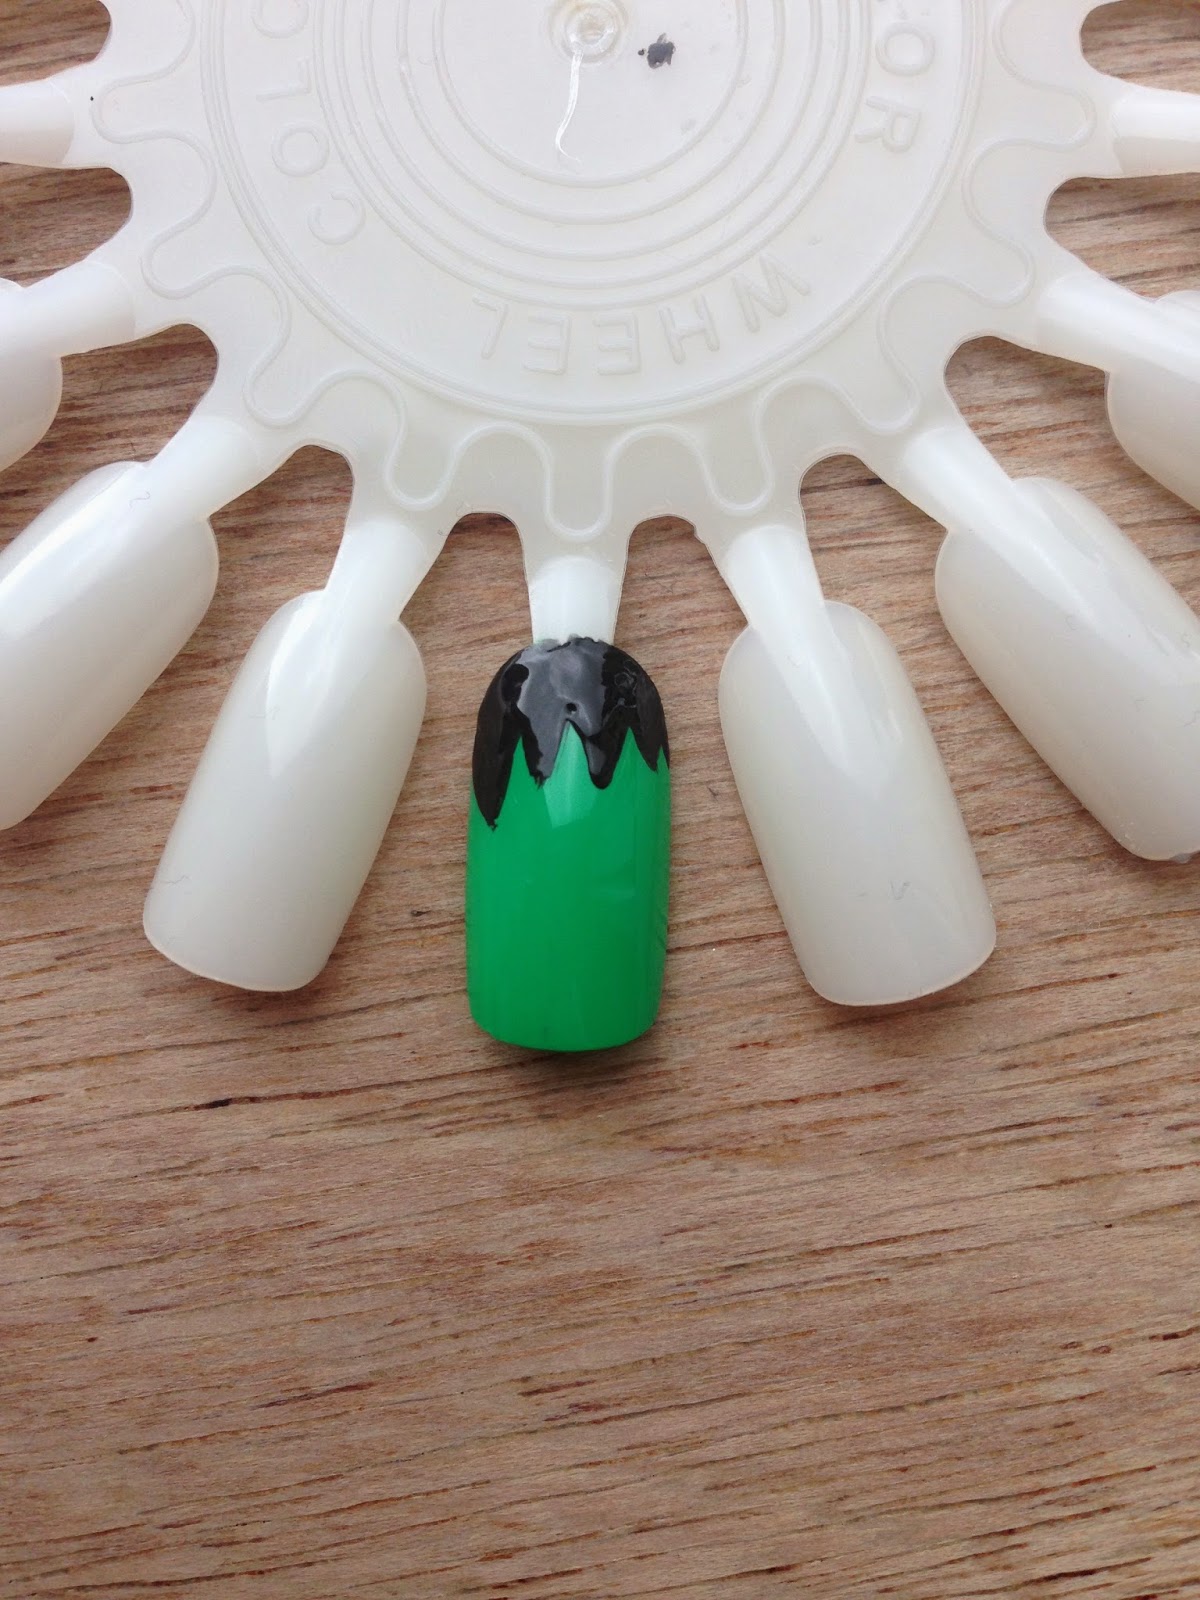
2. Once your base coat is dry, apply 2 coats of the Green polish letting the coats dry fully in between.
2 coats of Barry M Spring Green
3. Next take a nail art pen or use Black nail polish and a thin ended dotting tool, cocktail stick or bobby pin and draw a zig zag effect at the base of the nail to create Frankensteins 'hair' and fill in using the Black nail polish.
4. Next using a dotting tool, bobby pin or cocktail stick make 2 white dots under the hair for Frankensteins eyes.
5. Next using a dotting tool, bobby pin or cocktail stick, make 2 Black dots in the centre of the White ones we have just made to create the pupils of Frankensteins eyes.
6. Take your nail art pen if you have one or a thin ended dotting tool, cocktail stick or bobby pin and draw a horizontal line for Frankensteins mouth then draw vertical lines down the horizontal line to make it look like a stitched mouth.
7. Once fully dry, apply your chosen top coat, I always use Orly Glosser but any is fine, please make sure the design is fully dry before applying your top coat as it will smudge easily if not fully dry.
8. All finished.
Products used
Dotting Tools - I bought mine from Poundland
Black Nail Polish - I used Barry M Nail Paint in Black
Green Nail Polish - I used Barry M Nail Paint in Spring Green
White Nail Polish - I used Wah London Your Love Is One
Nail Art Pen - I used Wah London nail art pen in Black
Base Coat - I used Orly Bonder base coat
Top Coat - I used Orly Glosser top coat
I hope you have enjoyed number 1 in my Easy Halloween Nails series, these Frankenstein nails look great if done on every nail or as an accent nail with the other nails in plain Green or Black. If you do re create this nail look please be sure to send me a picture of them via Twitter, Instagram, Facebook or via email, all my social media links are in the cubes at the top right hand side of my page, I'd love to see them.
I will be posting the other looks in this series throughout the week so you'll have a few to choose from before Halloween arrives. If you don't want to miss out please follow my blog either via bloglovin or google friend connect, there are links to the right hand side of my page, it's very easy to do and it also makes me very happy :-)
Thank you for reading, much love as always,
Zoe x


