Hello Lovelies,
I have a few health issues as you're probably aware of and because of them I experience some horrible symptoms and side effects one of them being that I have a very poor memory, I usually use my iPhone when it comes to marking down appointments and things I need to remember but recently I saw my friend
Khila had bought a new Personal Planner and I thought it might be a good idea for me to get one to keep a track of things that I would otherwise forget.
When I went onto the
Personal Planner website I was amazed at the choice of sizes, designs and features I had to choose from when designing my own
Personal Planner there really are a lot of different things to choose from when it comes to designing your planner, I was blown away by the amount of choice, it's fantastic!
It was so easy to design my planner, to be honest I was pleasantly surprised at just how easy it was, when I first clicked onto the website I thought it might be a little confusing since I'm struggling a lot with things like that at the moment, but it wasn't at all confusing and I found it easy to design my planner, there are some fantastic features I'm going to share with you and I will be adding photographs to show you my planner and the things I chose to include in it, for reference I chose the A5 size for my planner.
The Front & Back Covers
 |
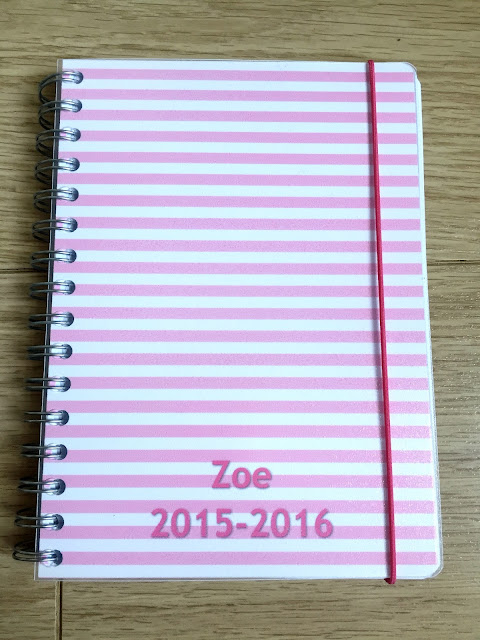
| Front Cover Of My Personal Planner |
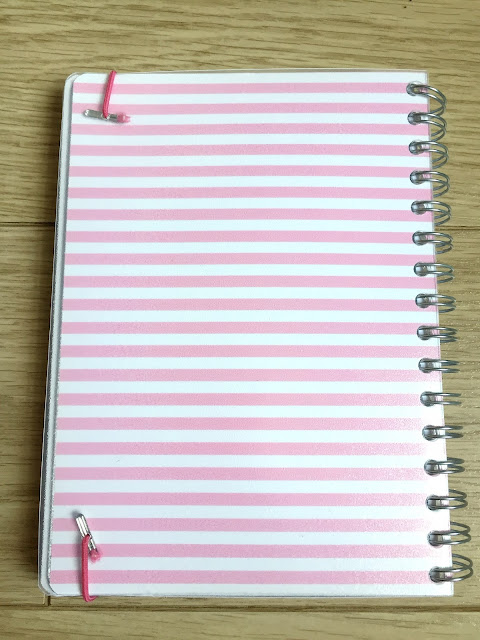 |
Back Cover Of My Personal Planner
|
I love Pink so it wasn't a hard decision for me when choosing the design for the front and back covers for my personal planner, I chose a pale Pink striped design with my name at the bottom of the front cover and 2015 - 2016 under my name, I also chose to have a pink elastic closure added to my planner as I thought it would be handy when I take the planner out in my bag with me.
Inside My Planner
The first thing you come to when opening the planner is the "owner info page" but this is one of the last things you choose when designing your planner, you can choose to have what ever you want written on the pages or leave it blank, you could have your name, address and telephone number or "if found please return to" or whatever you want and best of all you can add emojis too, I chose to have some of my favourite quotes and emojis and then under those I have "if found please call" and my mobile telephone number.
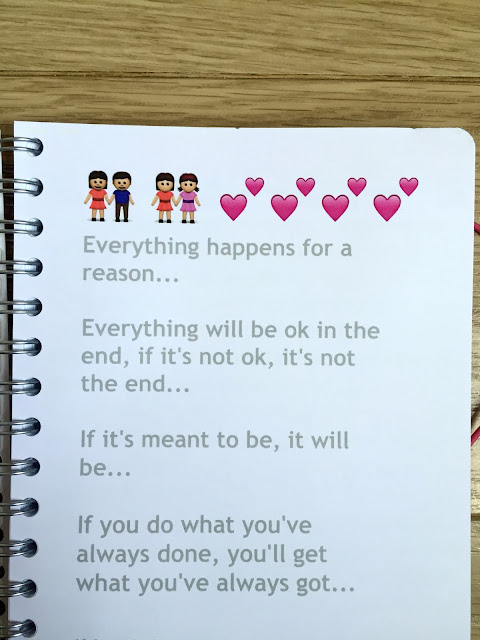 |
| My Owner Info Page |
The quotes I chose are some of the quotes I like to use, I didn't include all my favourite quotes I selected 4 to remind me of certain things if I'm going through a difficult time, the emojis I chose represent myself, Simon and our 2 daughters then 4 sets of 2 little love hearts 1 for each of us, hearts and pink are 2 of my favourite things.
The first thing you choose when designing your planner is the writing space and how the inside pages of your planner will look, there are various different options to choose from when choosing writing spaces including vertical layout, ruled top, ruled bottom, striped, ruler and timetable, I chose to have the striped and chose green as I thought it went well with the pink. I chose the pink with white stars for the inlay at the top of my pages where the month is.
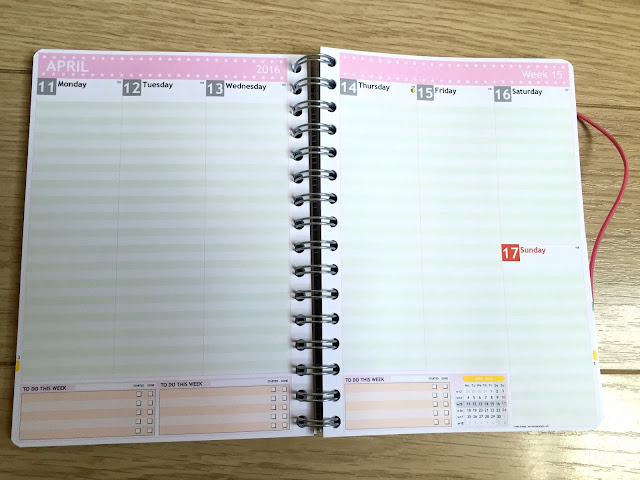 |
| Writing Pages |
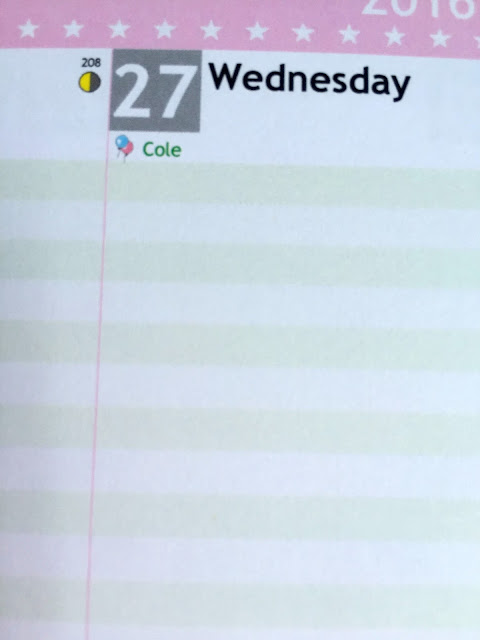
After choosing the writing space and inlay design it's time to choose other features, there was a "weather and workout" feature but I chose not to have that, after that there are modules to choose from for the bottom of your planner, I chose to have 3 "to do" modules but there are lots to choose from including exams, dinners, pre school, to do, tv, work out, list, DIY and more there are 13 to choose from in total. I also chose to add the "personalised dates" feature in my planner I found this an excellent feature, you can choose from anything you want, birthdays, anniversaries, weddings any personal dates you might want to remember, I chose birthdays and anniversaries.
 |
| How A Birthday Looks |
As you can see in the above photograph I chose to have the "personal dates" feature and my eldest daughters birthday is the 27th July so this is how it appears on that date in my planner, I really like the balloons I think it adds a nice touch.
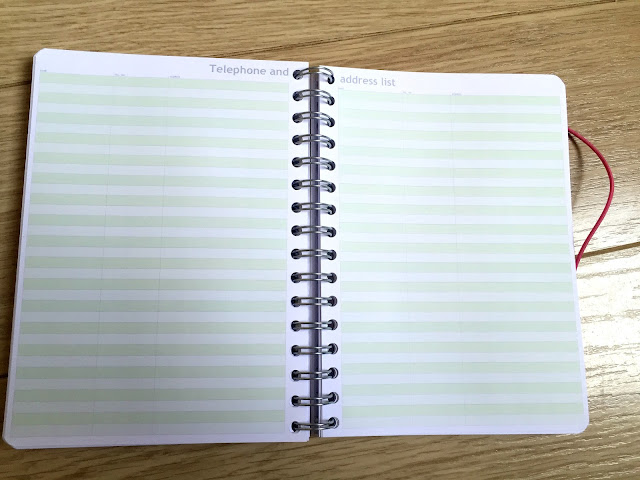
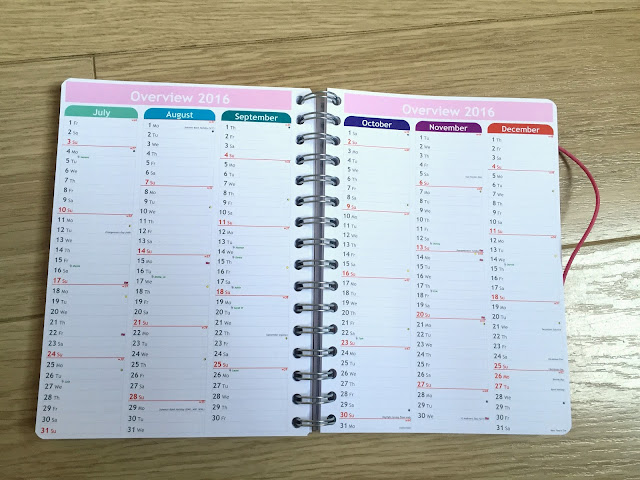
Once you've chosen your main diary section of your planner there are 2 sections at the back of your planner the first section is 8 pages and the second 10 pages there are quite a few different sections to choose from and in section 1 there is a great choice including overview 2016 and 2017, overview 2017 and 2018, ruled overview of both 2016 and 2017, telephone and addresses, squared paper, ruled paper, blank pages and sheets of music amongst others. In section 2 you can choose from ruled and squared sheets, sheets of music, sudoku, colouring book, maps and blank pages amongst other things, I chose the telephone and addresses for my first section and ruled for my second and I also have a monthly overview section.
 |
Telephone & Address Pages
 |
| Monthly Overview |
|
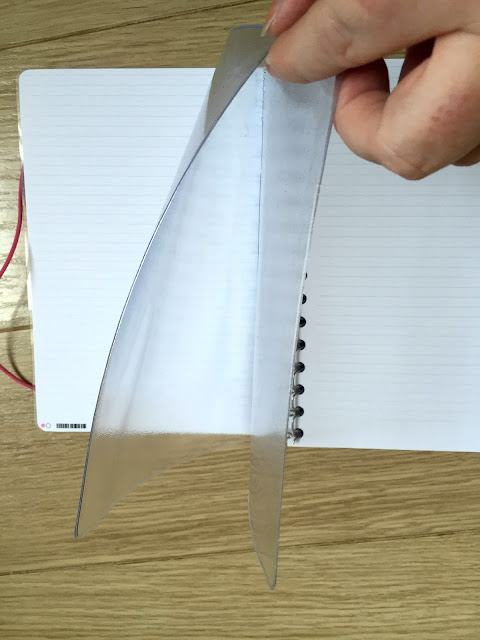
Another feature I added to my planner are some plastic wallets, I added 2 of the plastic wallets as I thought they would be handy should I be given an appointment card at any of my medical appointments then I could keep them safe until I was home and able to jot the appointments down or for any other things I might want or need to keep in them, as it happens I have gotten into using planner stickers and love to choose different stickers for my panner so I keep my stickers in the plastic wallets, they are ideal for keeping stickers in if you're like me and like to add stickers into your planner.
 |
| Plastic Wallets |
Another really great thing about the planner is that a month before it is due to finish there is a little note telling me my planner is coming to an end with 2 discount codes of 10% each, one for me and one for a friend which I thought was a really nice touch.
I do also have a small ruler at the front of my planner and I also purchased a pink pen to go with my planner, the pen arrived after a couple of days of ordering my planner and my planner took just over a week to come which I didn't think was bad at all, a great feature on the Personal Planner
website is you can track your order from ordering to printing to packing and then despatched, I found it really helpful.
Personal Planner have very kindly given me a 15% discount code for my blog readers which can be added at the checkout and is available until December 13th, the code is
D-XFEE-JUEI and will enable you to get 15% off your order which is an amazing discount, you can find the Personal Planner website
here.
I am really happy with my planner, it arrived well packaged and the plastic wallets and elastic closure were very easy to fit. I use my planner all the time it has become invaluable to me and I am so pleased I ordered it and will definitely be re purchasing next year when mine runs out. I do have a slight planner sticker obsession though so if you would like a post all about the stickers I use and have ordered and where I ordered them from, please let me know in the comments below.
Let me know if you order a planner and also let me know if you would like the blog post on the planner stickers, I think I have a bit of an addiction forming!
Thank you for reading, much love as always
Zoe x


